- By: James Grear
- Last updated:
If you’ve used an AirTag before, you may have noticed when setting it up with your iOS device that one of the default tracking names is “Bike” with the bike emoji.
So clearly, Apple intended or assumed that AirTags would be used to track bicycles.
However, they’re yet to provide us with an Apple-branded $100 mounting system, so you may wonder how to mount an AirTag to your bike.
I’ve got you covered.
In this short guide, we’ll look at several affordable AirTag bike mounting options.
From DIY mounts made with household items to covert mounting systems that hide your AirTag from thieves, let’s take a look at your best options.

If you’re interested in using an AirTag to protect your bike, you can view the most up-to-date price on Amazon here.
Are AirTags Suitable for Bike Tracking?
Without straying too far off topic, for those unaware of how an AirTag works, it’s worth familiarising yourself with the AirTag ecosystem.
I recently looked at how effective AirTags are for bike tracking and whether or not it’s worth mounting one to your bike.
By reading the guide above, you’ll also learn how to maximise the effectiveness of an AirTag if you did decide to mount one to your bike.
AirTag Bicycle Mounting Options
When mounting an AirTag to a bicycle, you have two options, make a DIY mount or use a retail mount.
Below you’ll find my favourite DIY AirTag mount suggestions alongside the different types of readily available amounts you can buy in stores and online.
You’ll learn of the benefits each mount type offers as well as any setbacks.
DIY AirTag Mounts
Whenever possible, I like to attempt DIY projects, using household items before buying a new product.
Below I’ve put together a list of the best DIY AirTag mount options:
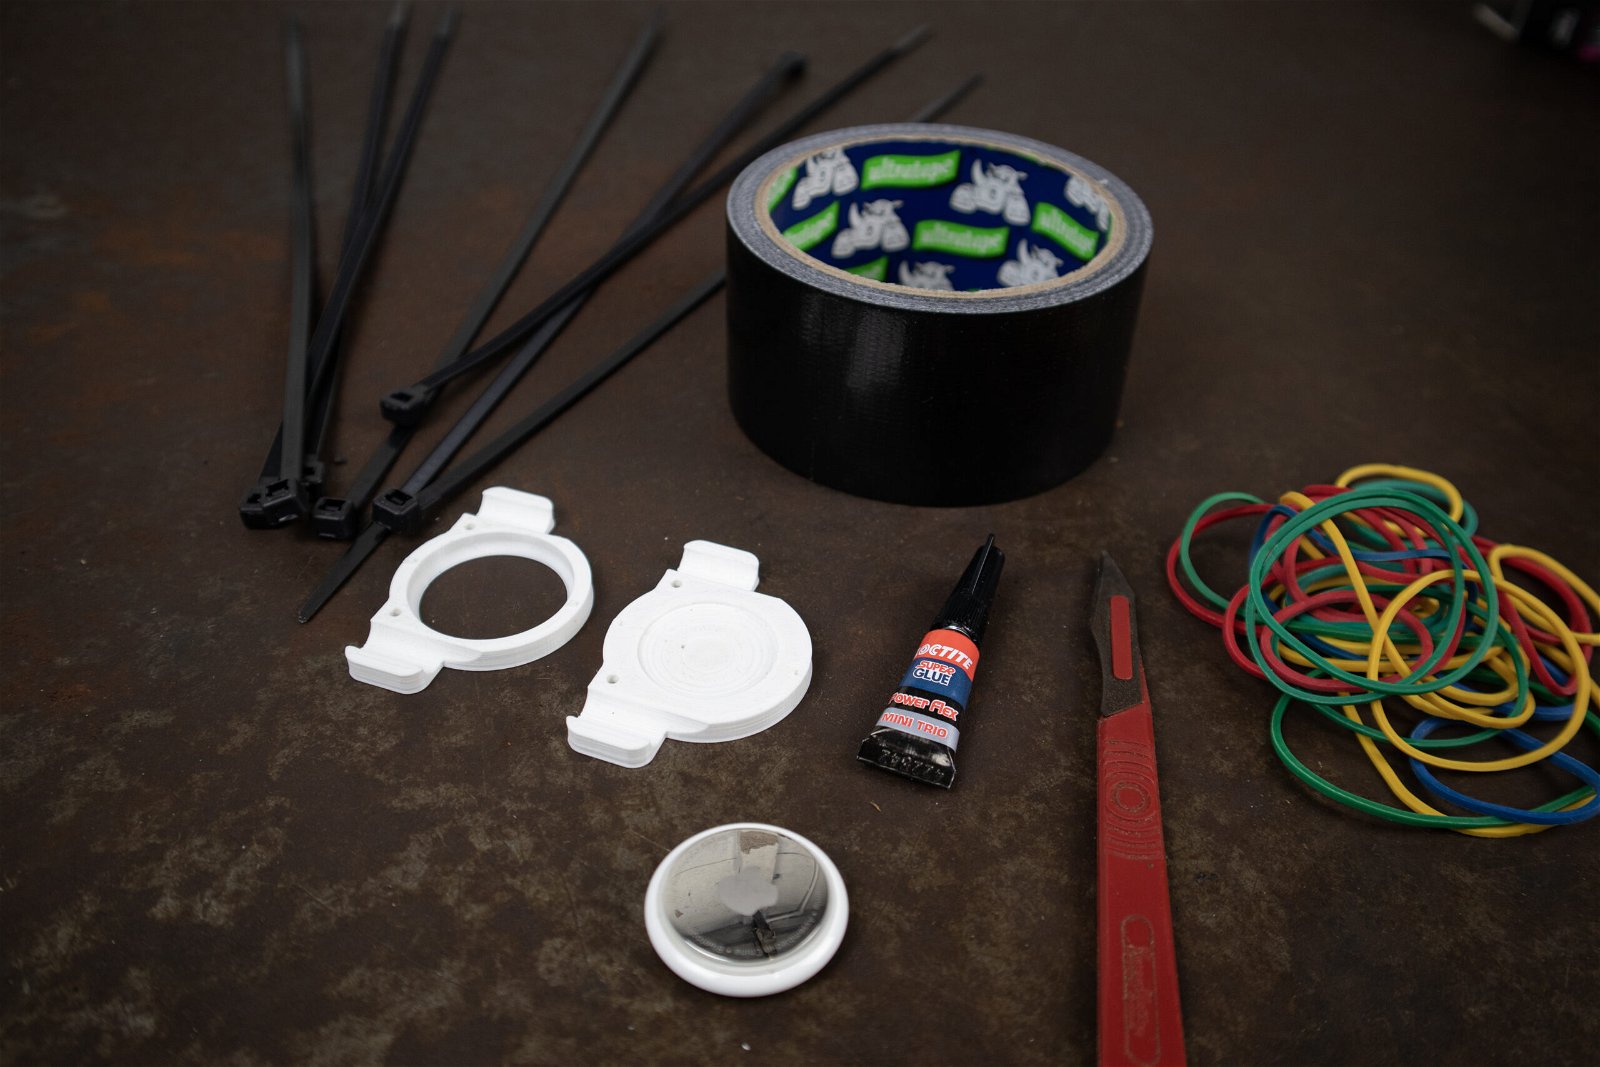

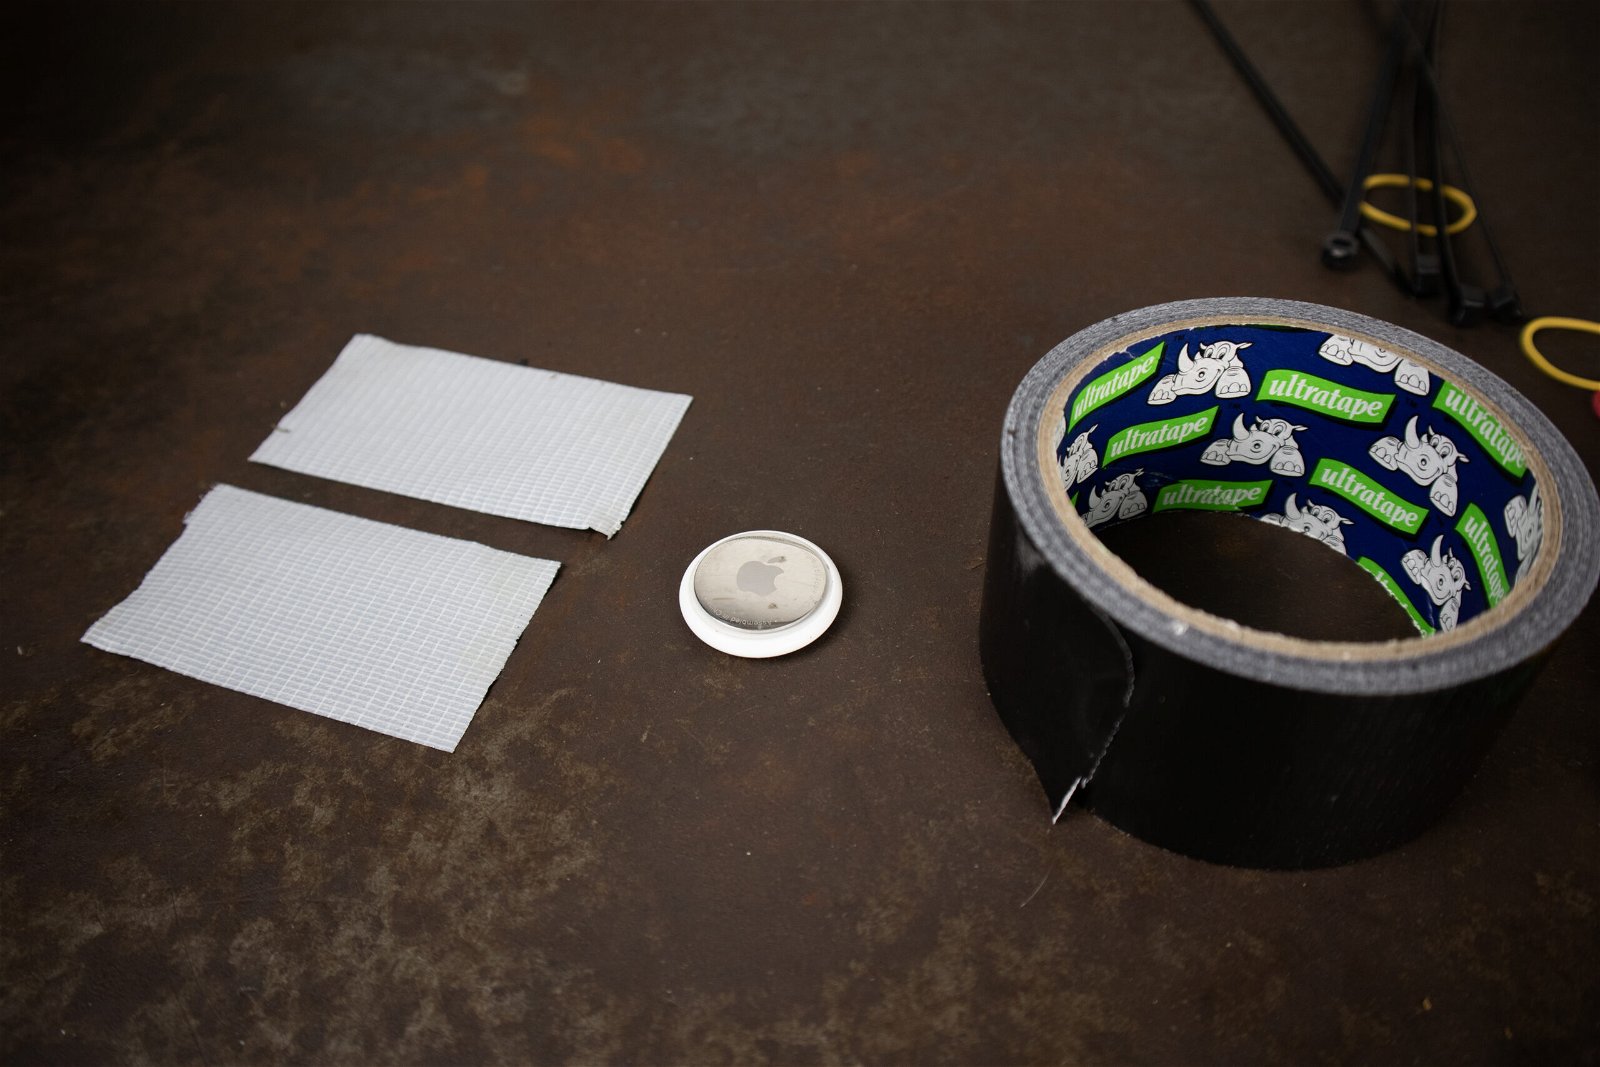
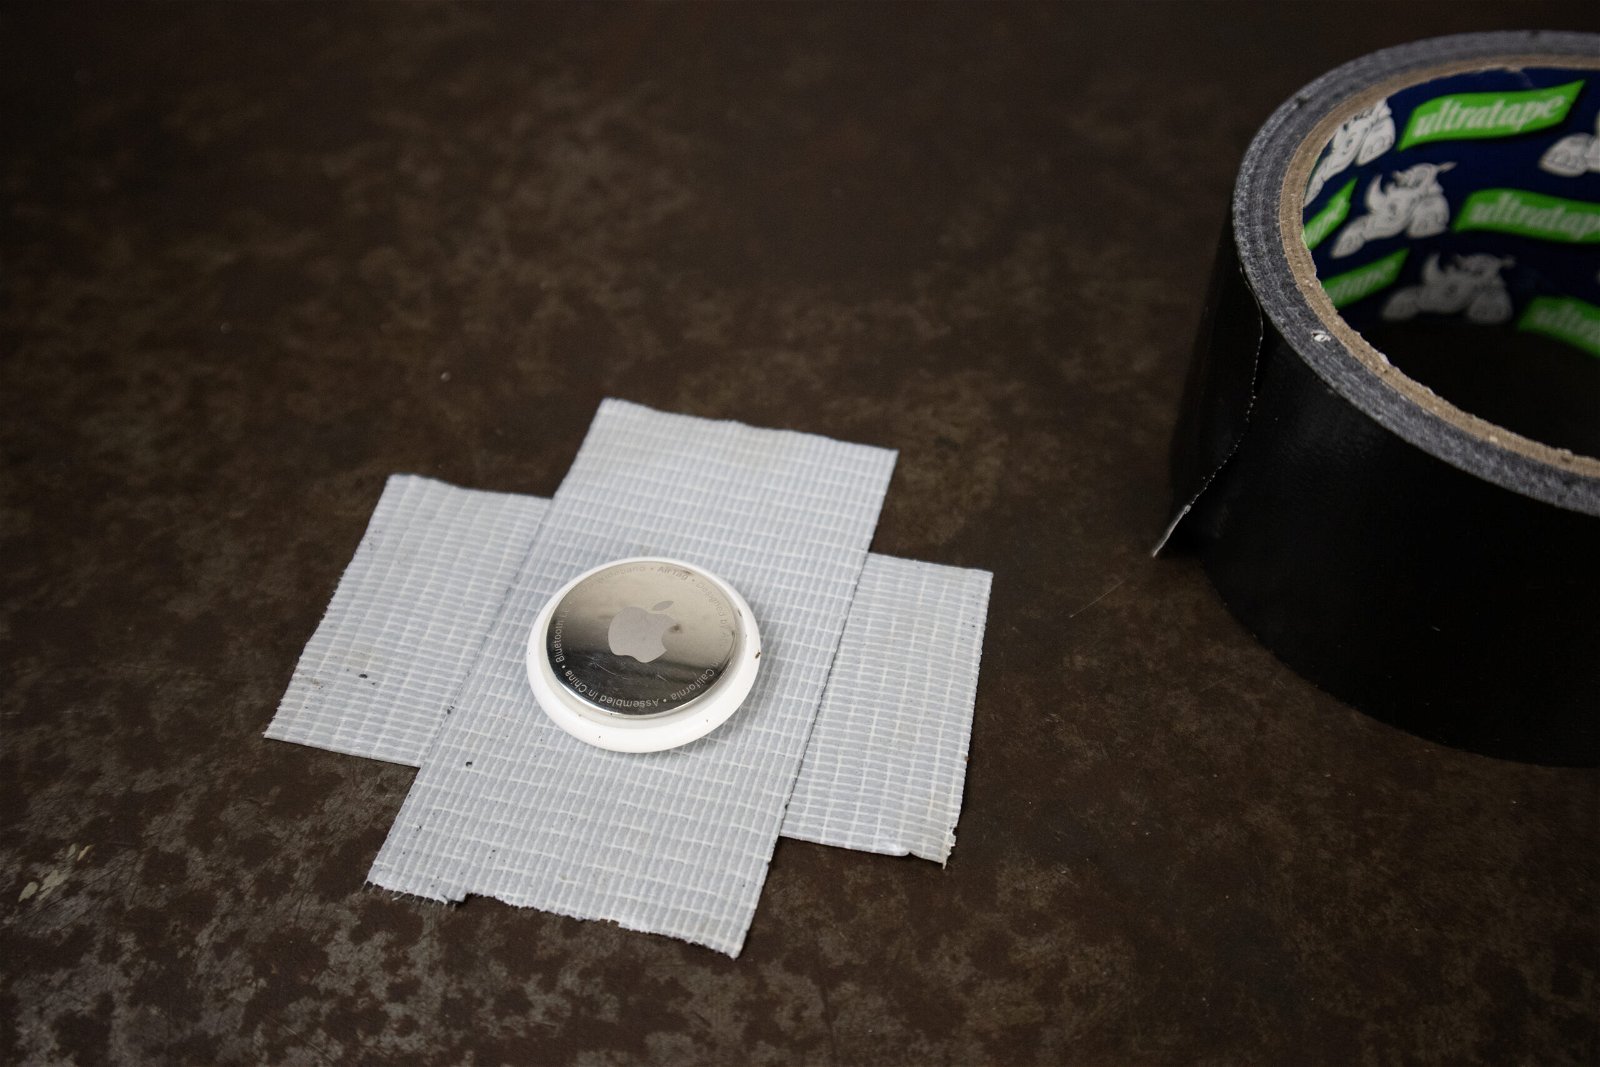
An absolute essential in every DIYers toolkit. A roll of duct tape can be a great way to mount an AirTag to your bike.
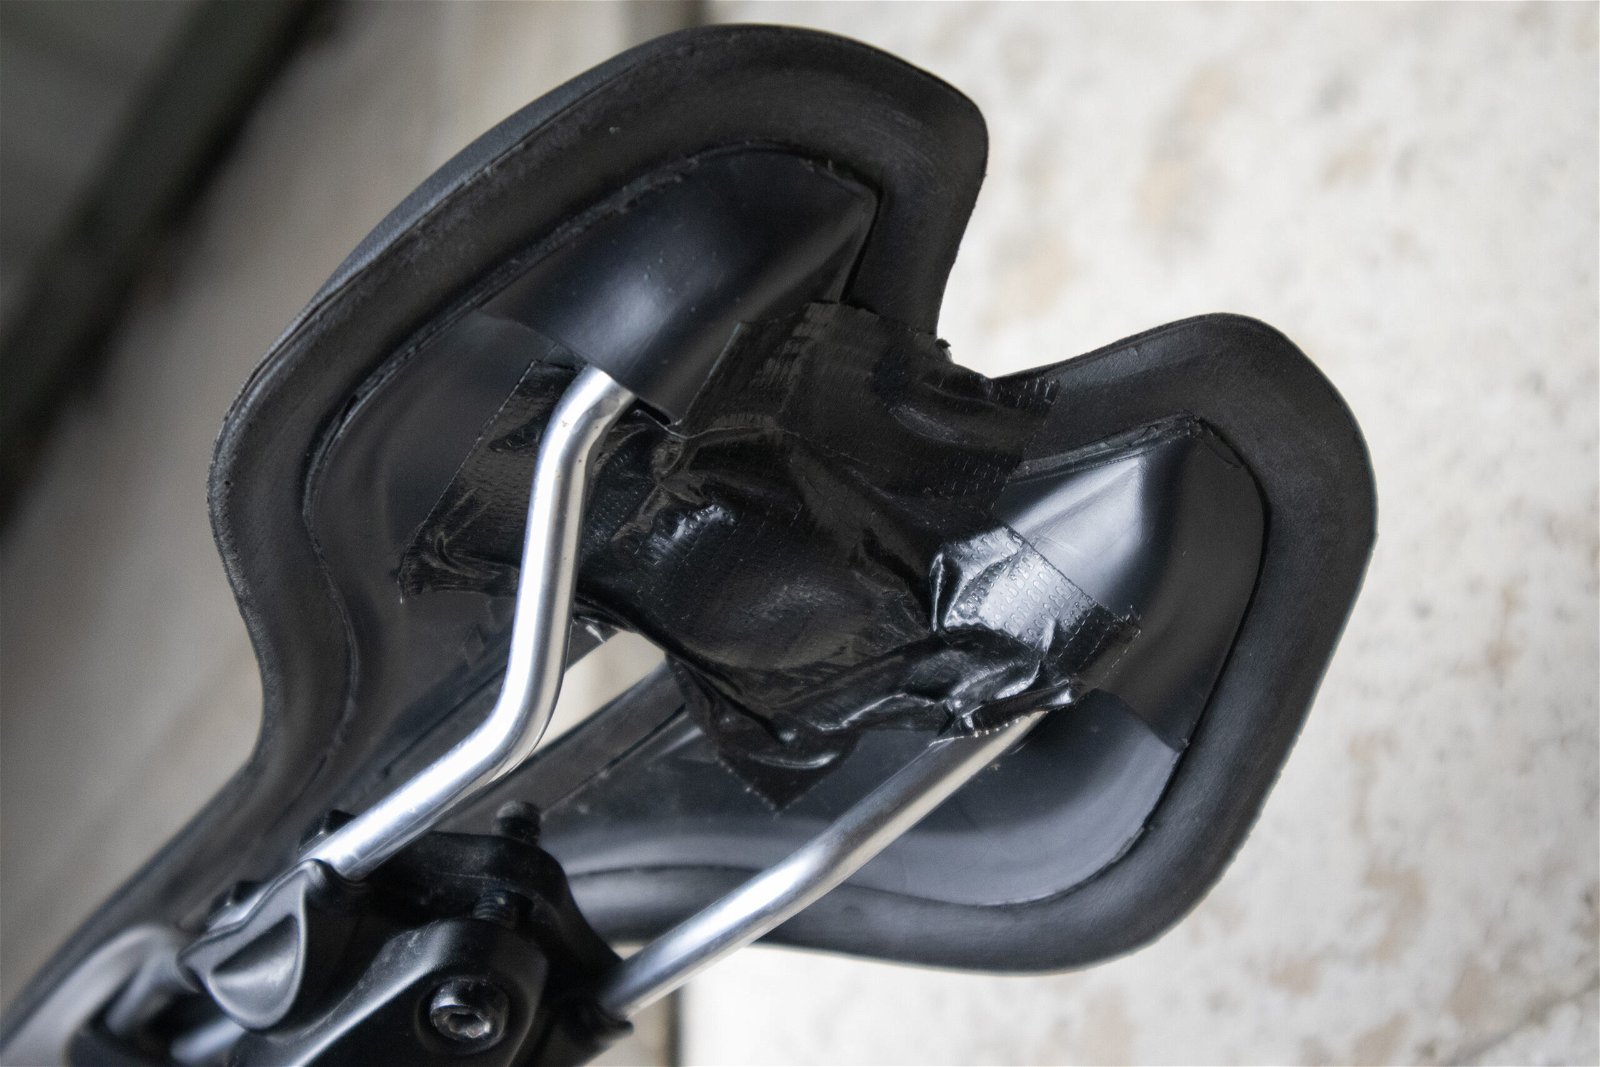
One of the best places to mount an AirTag to your bike without a retail mount is under the saddle since this keeps it out of sight.
Tear two small strips of duct tape and overlap them to form a cross shape.
Then stick the AirTag in the middle and slide it underneath your saddle rails, ensuring the tape’s adhesive is completely attached to the underside of your saddle.
The best bit about using duct tape to mount an AIrTag is that it’s a non-permanent solution. If needed, the duct tape can easily be removed to change the battery or remove the AirTag altogether.
Most people don’t have access to a 3D printer, but if you do, you’re in luck.
My friend let me use his 3D printer to test an AirTag mount design that I’d found online, and as you’ll see from my testing, it worked pretty well!
There’s an entire library of 3D printable mounts on the internet, so if you have a suitable printer, you’d be silly not to try one!
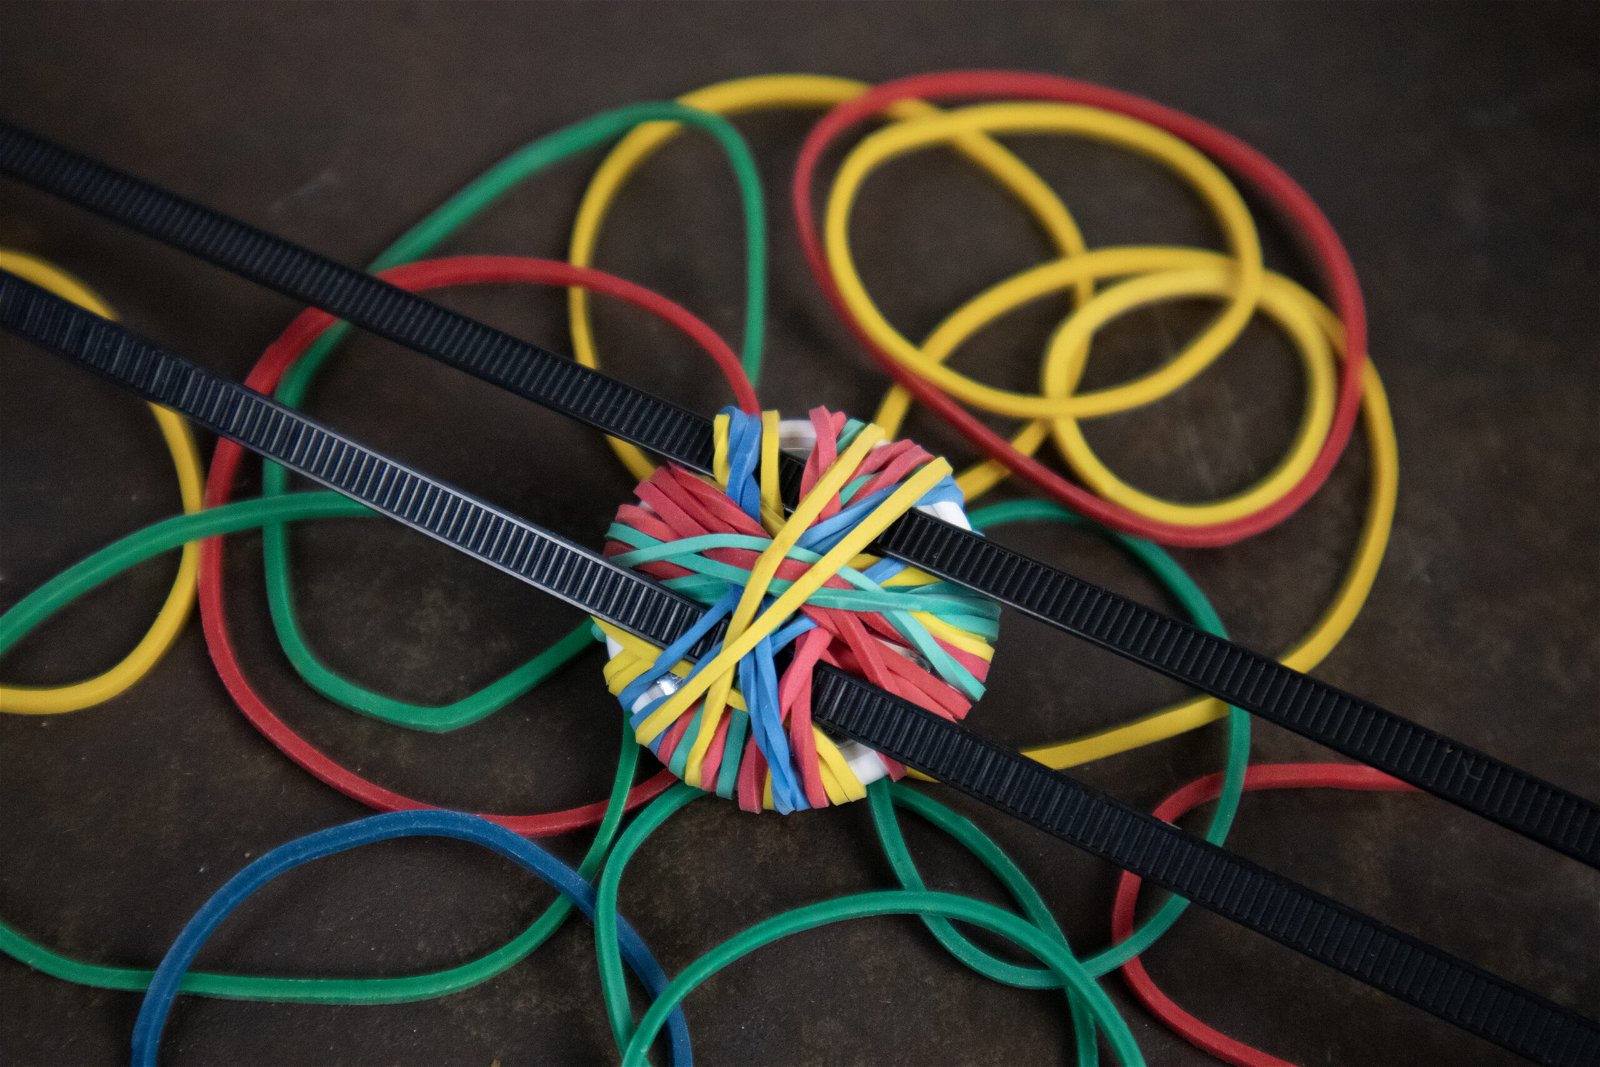
Have you ever made a rubber band ball?
Essentially, that’s what we’ll do for this DIY mounting method.
You’ll need 10-20 rubber bands and one or two zip ties for this method.
Begin wrapping the rubber bands around the AirTag, rotating the tag as you go so that they cover it from every direction.
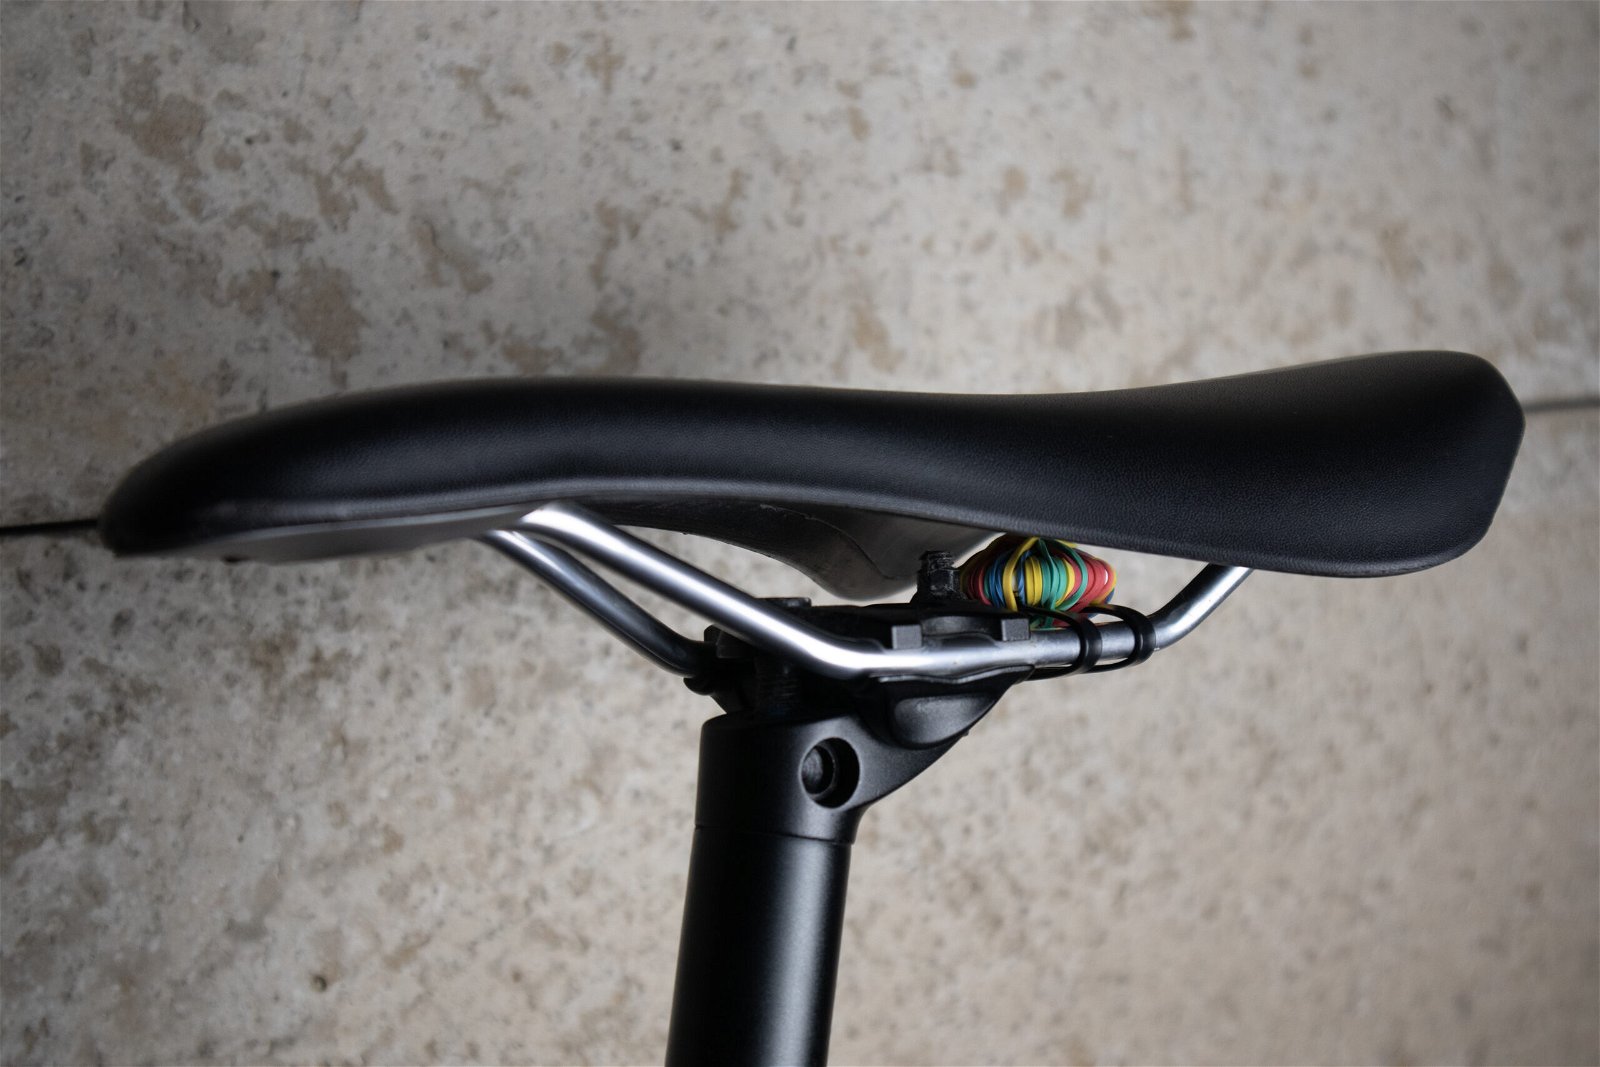
Once covered, all you’ll need to do is thread your zip tie underneath the rubber bands, allowing you to easily attach the AirTag to the desired location on your bike.
Attaching an AirTag directly to your bike is another option.
Using super glue or another strong adhesive, after scoring the back of the AirTag, you can glue it to the underside of your saddle.
This still allows easy battery replacement access, while keeping the AirTag totally out of sight.
If you choose this option, covering the metallic battery housing of the AirTag in duct tape is an excellent way to reduce the visibility of the AirTag, especially as most saddles are black on the bottom.
When it comes to DIY, Zip Ties will always be one of your best friends.
With a bit of super glue, it’s easy to attach a couple of zip ties to the plastic shell of an AirTag.
You can fix it so that the AirTag sits on the inside of the ties for a firm hold or on the outside for easier battery changes.
Once assembled, you can mount the tag to almost any position on your bike. Under the saddle is a classic hiding spot, or facing the ground underneath your stem.
If you need to remove the zip ties, they’re pretty easy to open without cutting, and if required, you can use rubbing alcohol to remove them from the tag altogether.
Inserting an AirTag into your bike’s frame is possible if there’s room for one!
Your seat tube is one of the most likely places for storing an AirTag inside your bike’s frame.
Alongside this, if you ride MTB, the bottom of your steerer tube is an excellent place to store an AirTag.
If your steerer tube is wider than 32mm, you should be able to fit an AirTag inside.
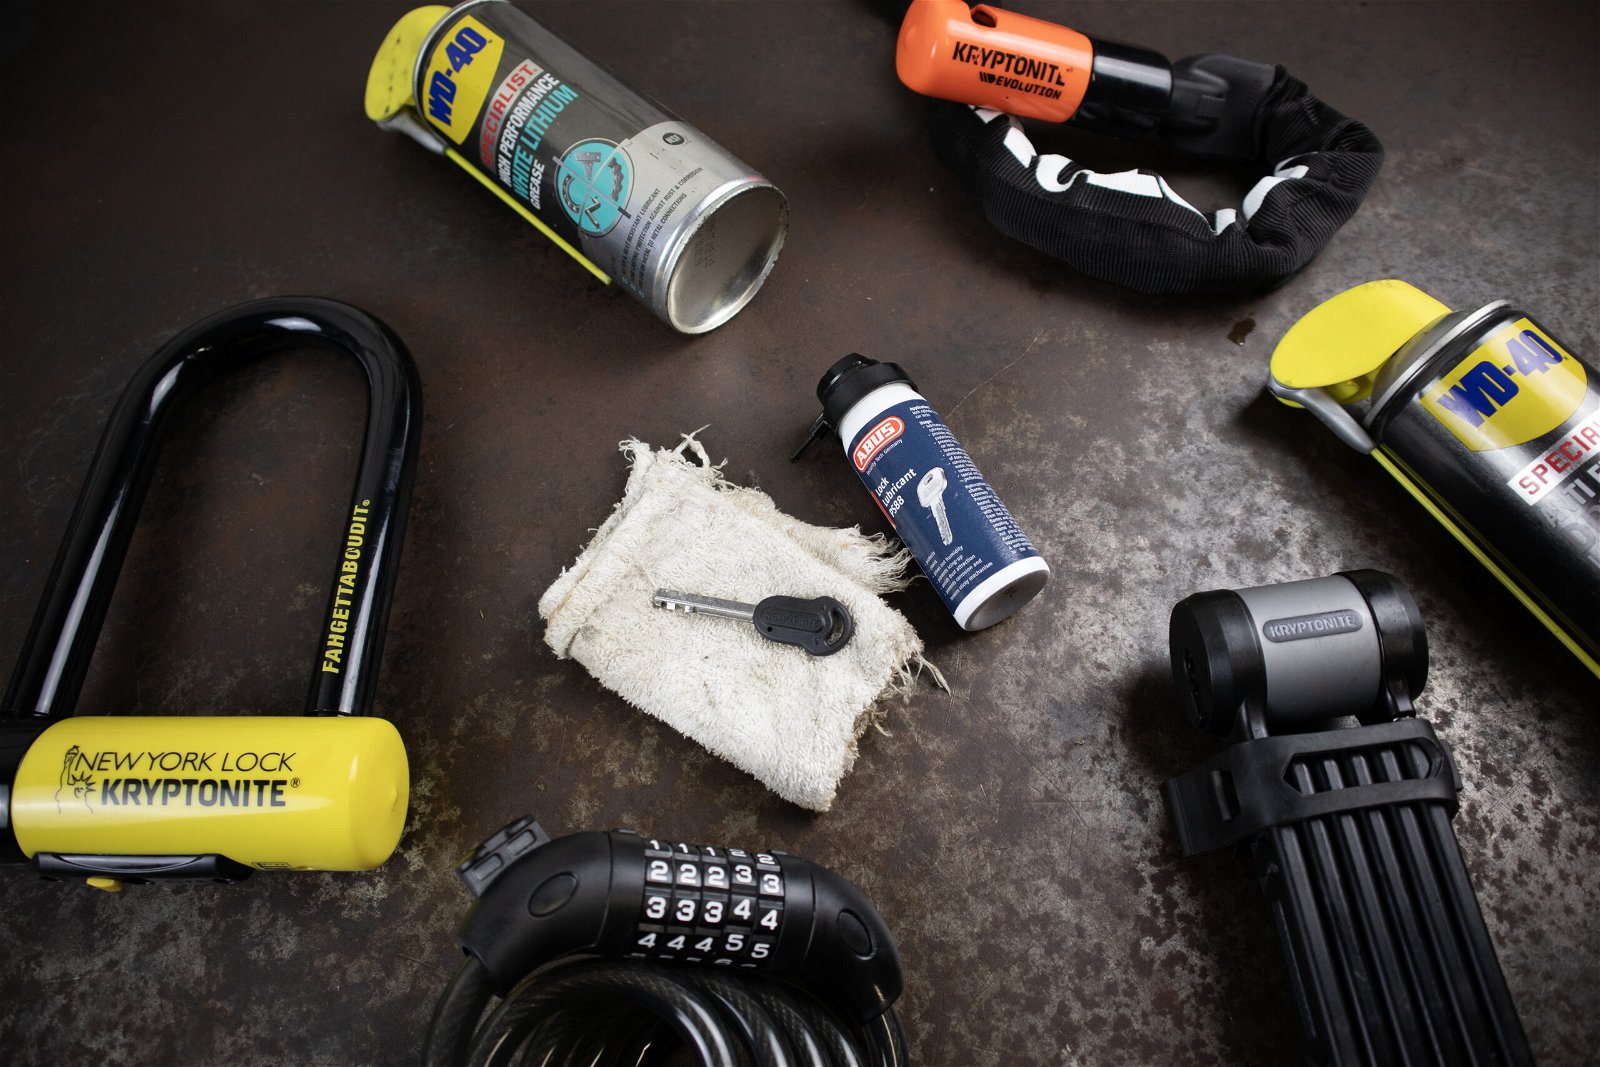
The best way to seal your steerer tube without buying a mount is to use a bar end plug, or a squirt of WD40 and a large cork from a bottle of wine/champagne will also do the trick.
Then all you’ll need to do is attach your AirTag to the innermost point of the bar end plug or cork with a bit of glue, and you’ll be good to go!
The one downside of this step is that the frame of your bike can interfere with and limit the signal of an AirTag, so make sure to test it out before setting on this option.
Issues With DIY AirTag Mounts
Whilst DIY mounts are cheap and can be an effective way to mount an AirTag to your bike, they do have a few downsides.
The most apparent issue with DIY AriTag bike mounts is that they are often fiddly to make and must be customised to work with different bikes.
One downside of storing an AirTag in your bike’s frame is that this will often limit the tracking distance of the AirTag.
So make sure to test how your frame affects the signal of your AirTag before deciding on this option.
Finally, some of the methods above will require you to scratch the AirTag to give the glue/adhesive a better hold. This causes irreversible marking, whereas a retail Bicycle AirTag mount doesn’t suffer from any of these issues
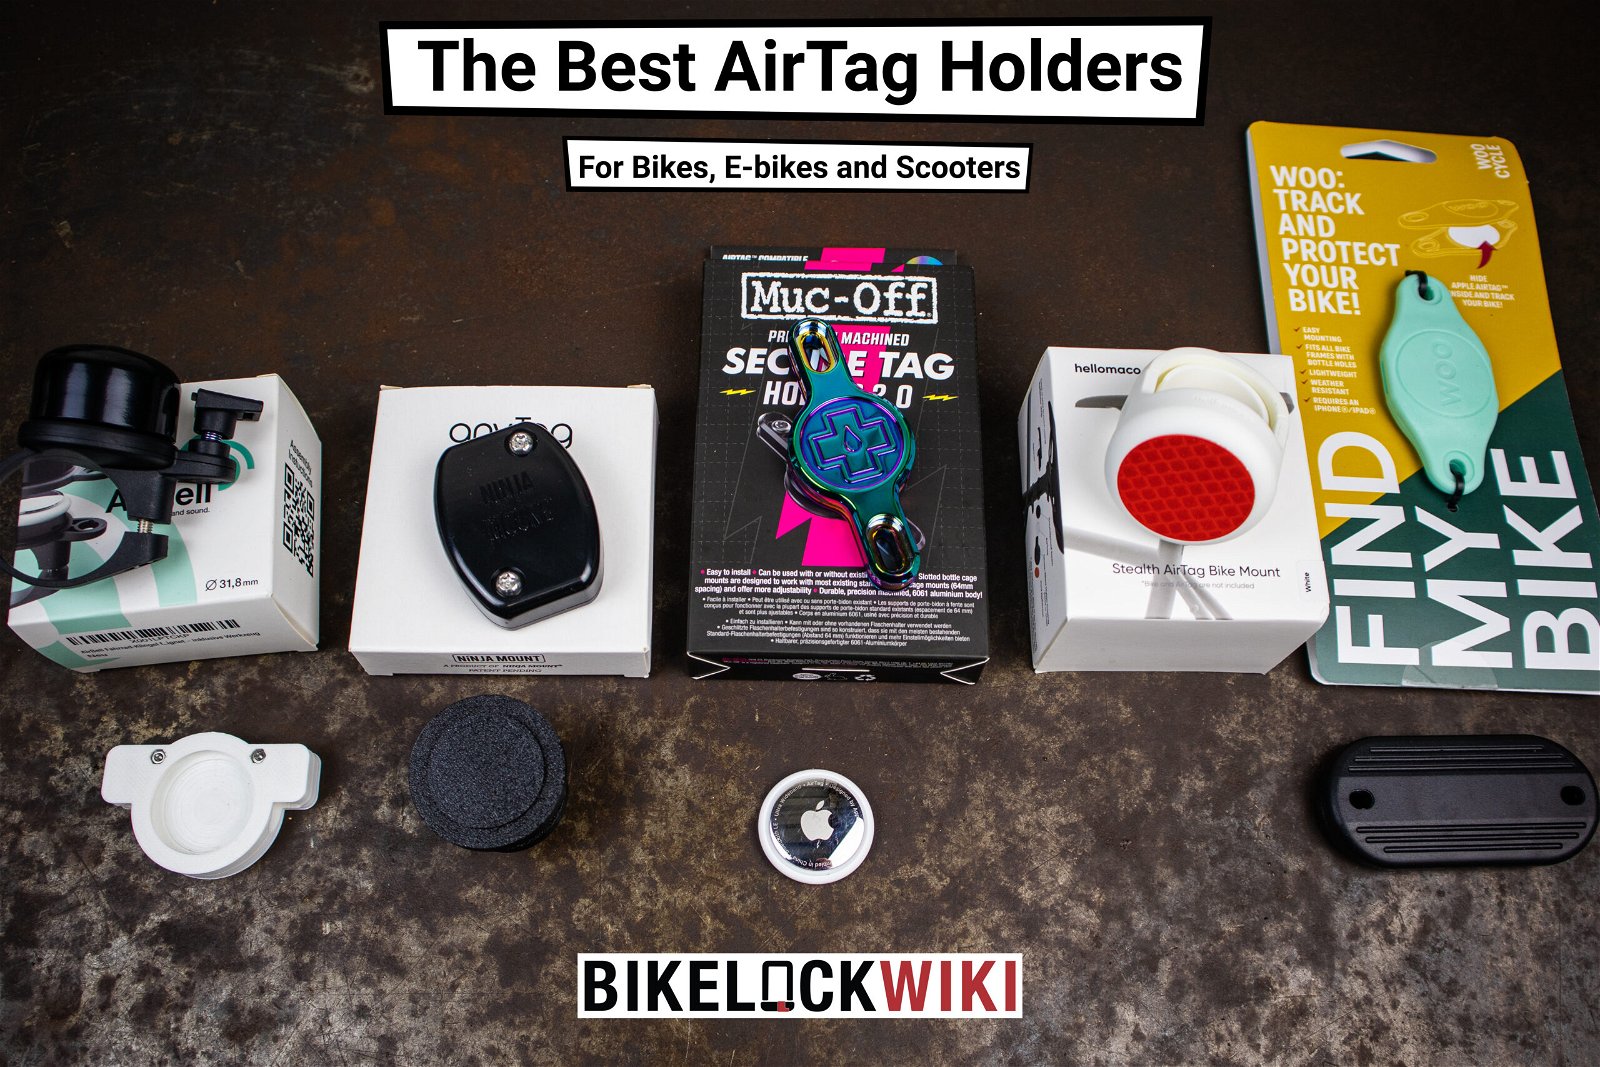
Retail AirTag Mounts
There’s an abundance of options to choose from when it comes to readily available AirTag mounts for bikes.
Sifting through the options can be confusing as it’s difficult to gauge the quality of each mount and whether or not it will limit the AirTag’s Bluetooth signal.
I recently reviewed 10 of the best AirTag bike mounts to find out which were the best. So if you’ve been scratching your head or want an affordable, no-nonsense mounting system, it’s worth a read.
Much like many DIY AirTag mount options, a wide range of retail saddle mounts are available.
These attach directly to your saddle rails, keeping your AirTag out of the clear line of sight.
Due to their mounting location, saddle mounts are often more fiddly to set up than other mounting systems.
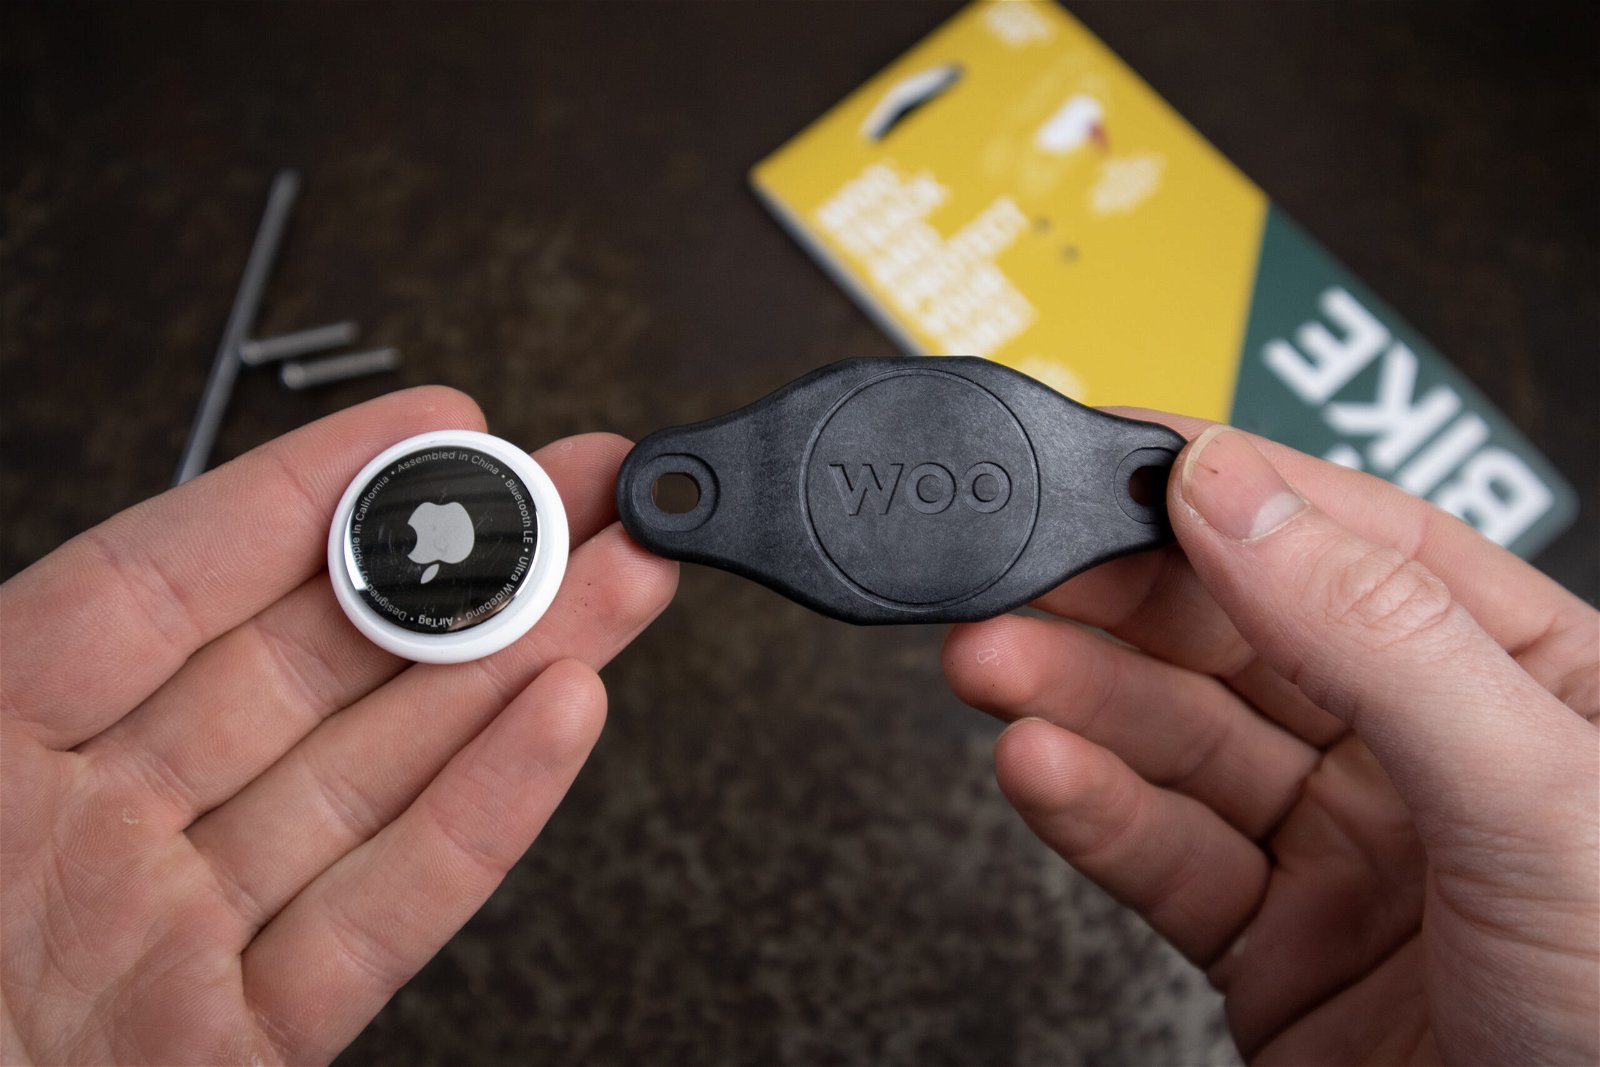
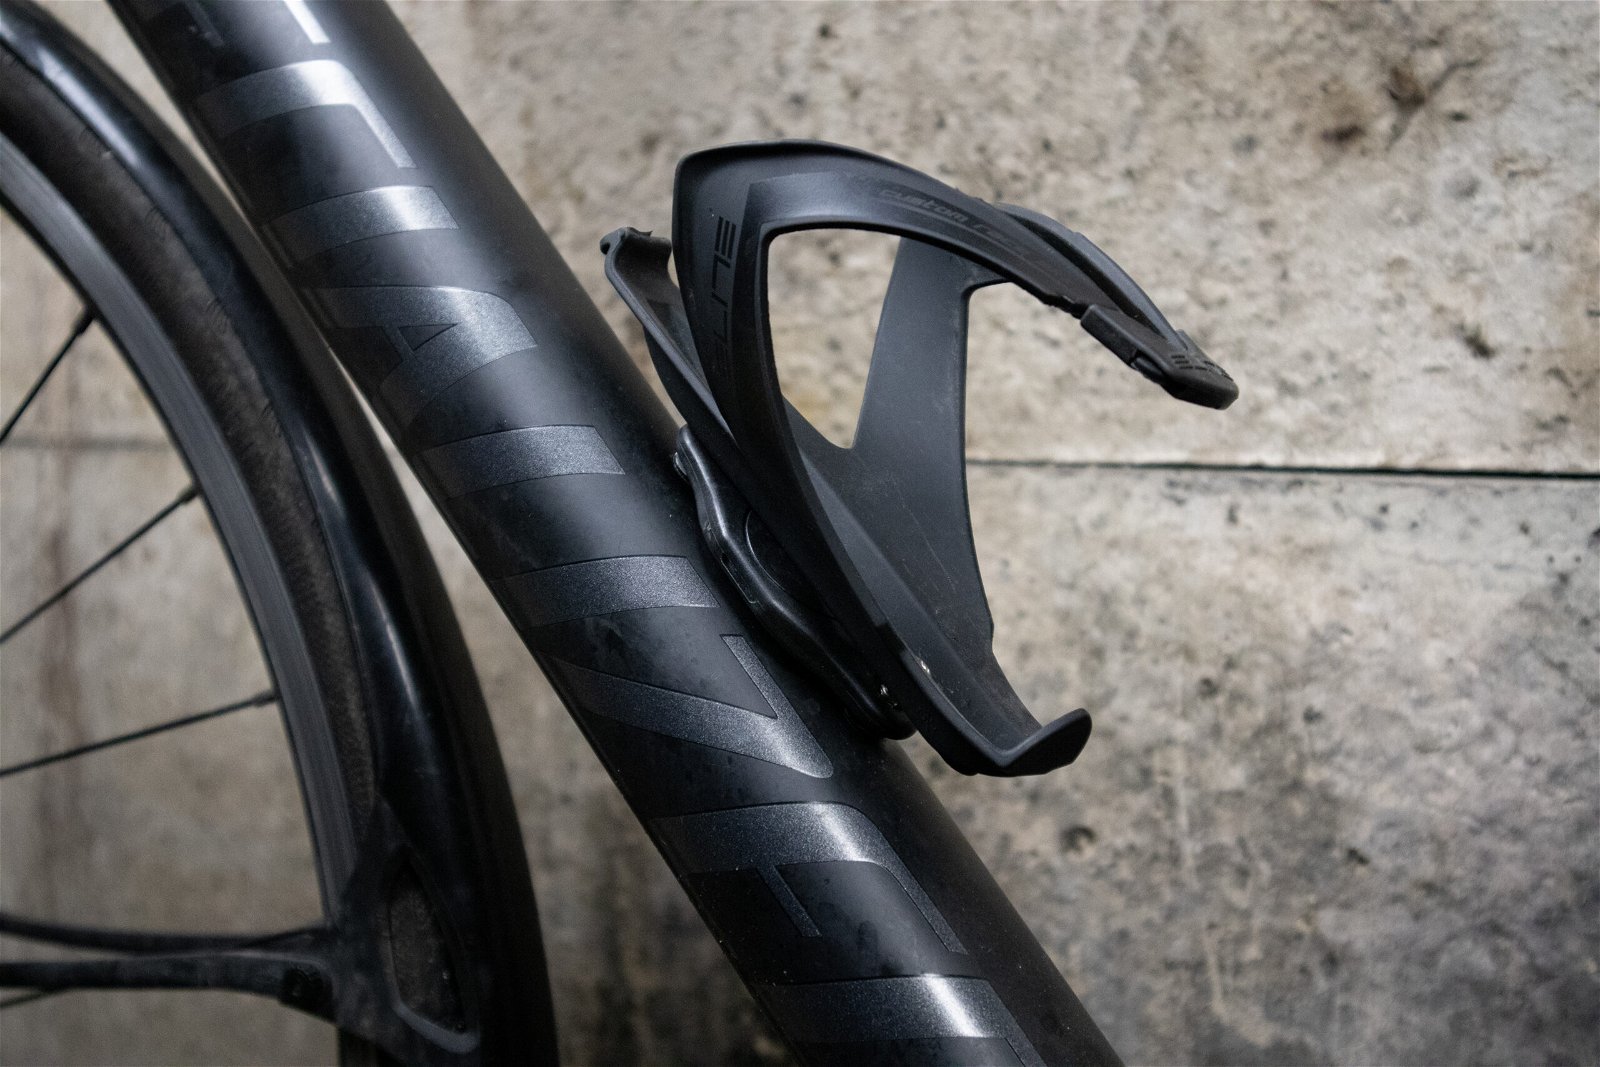
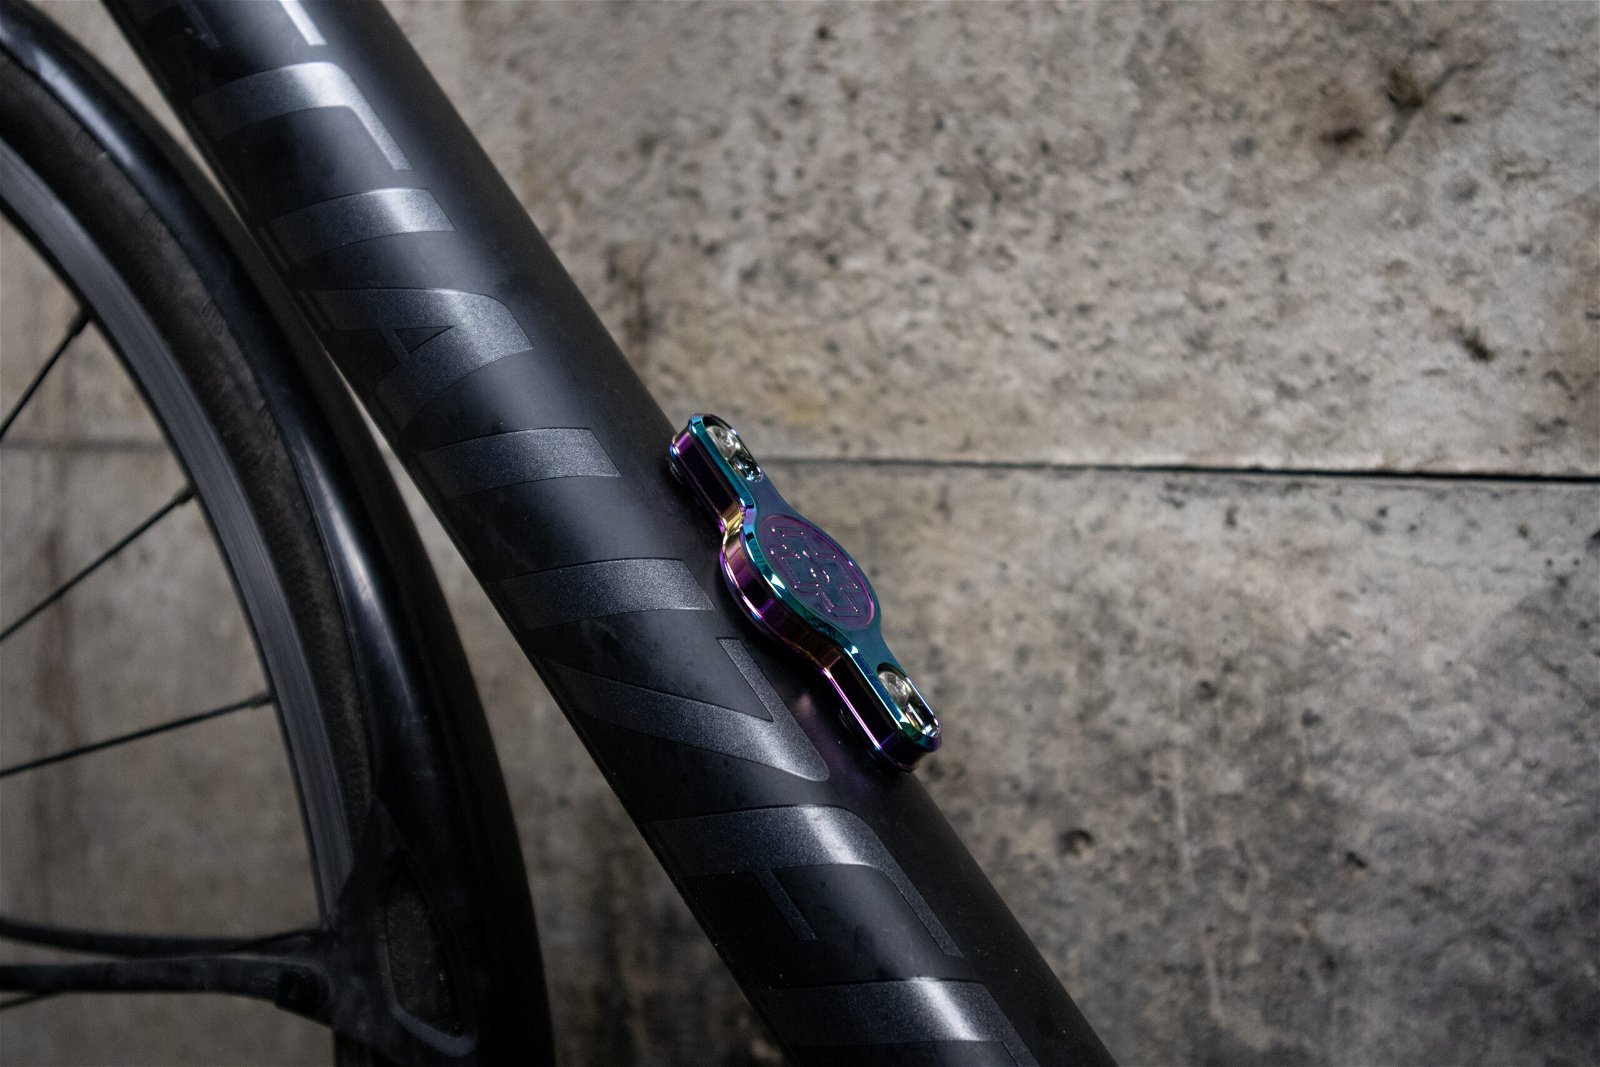
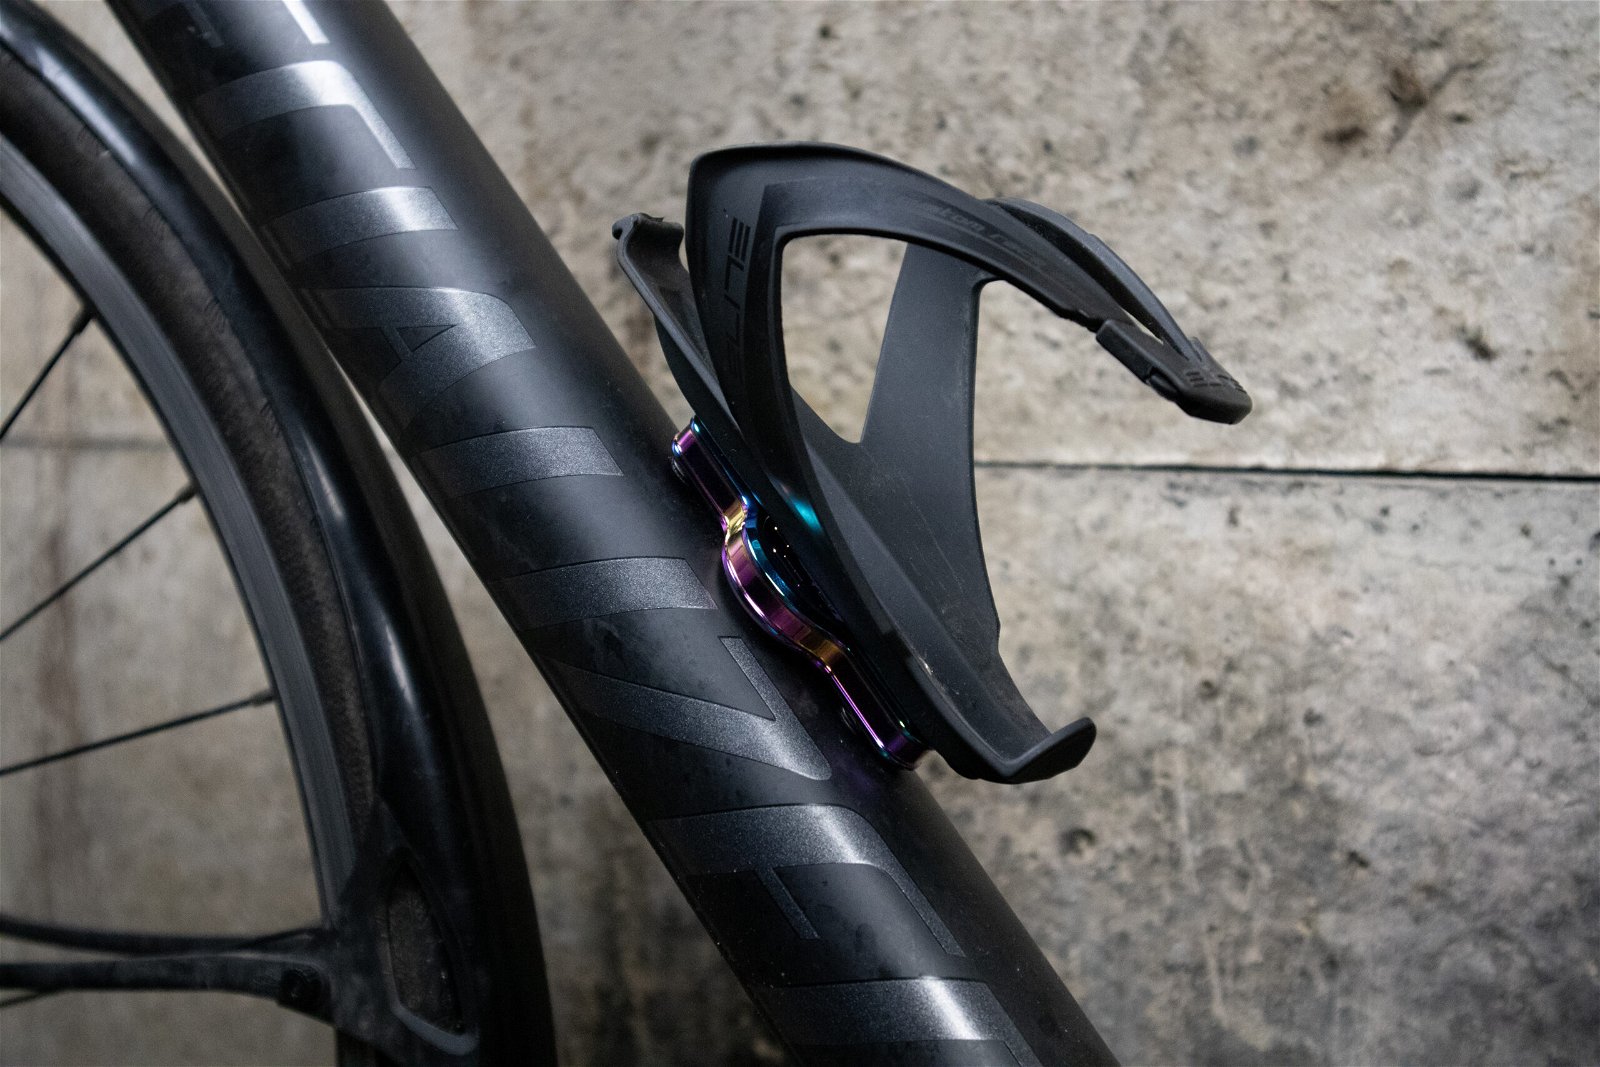
Frame AirTag mounts usually attach to your bike’s frame using its water bottle mount positions.
Due to their low profile design, most frame mounts can be hidden beneath your bottle cage, keeping them somewhat out of sight.
However, if a thief were to spot a frame mount, it’s pretty obvious that it’s a bike tracker of some sort, and they may attempt to remove it.
Several of the best AirTag frame mounts I tested use security screws, making removing the AirTag much more difficult without a security Torx tool.
Adhesive AirTag mounts are suitable for tracking anything they can stick to.
I tested the Ninja Mount anyTag, which was the top-performing mount in terms of trackability, but it wasn’t suitable for my bike as it wouldn’t stick securely to the rounded frame.
The Ninja anyTag needs a flat surface to adhere to, so if you ride an e-bike or e-scooter, this should work.
Otherwise, you could stick the anyTag to a bike rack/pannier if you use one.
The one disadvantage of adhesive AirTag bike mounts is that they can typically be removed easily since they’re not bolted to your bike.
Many e-bikes offer a lockable internal storage compartment in the downtube. This is another good place to mount an adhesive mount.
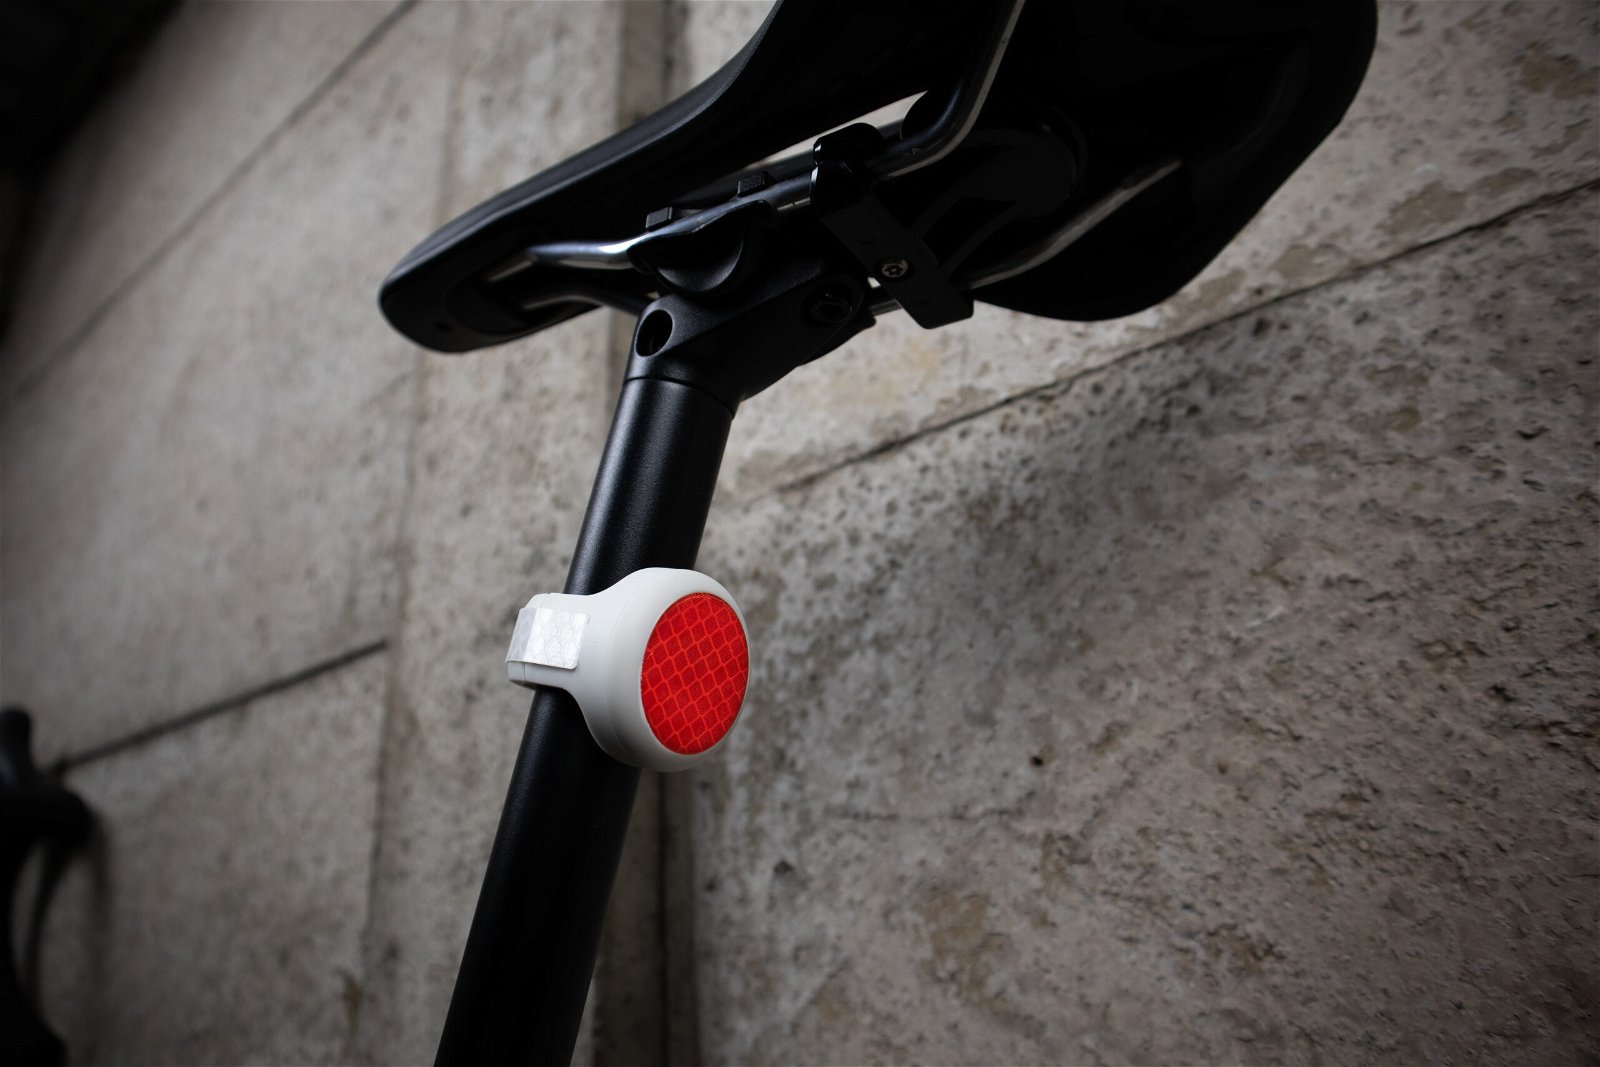
Covert AirTag bike mounts allow you to keep your AirTag hidden, decreasing the chance of it being removed if your bike is stolen.
Saddle rail AirTag mounts could technically be included in the covert category. Still, if a thief spotted one, they’d likely remove it as it’s pretty obviously a tracking device of some sort.
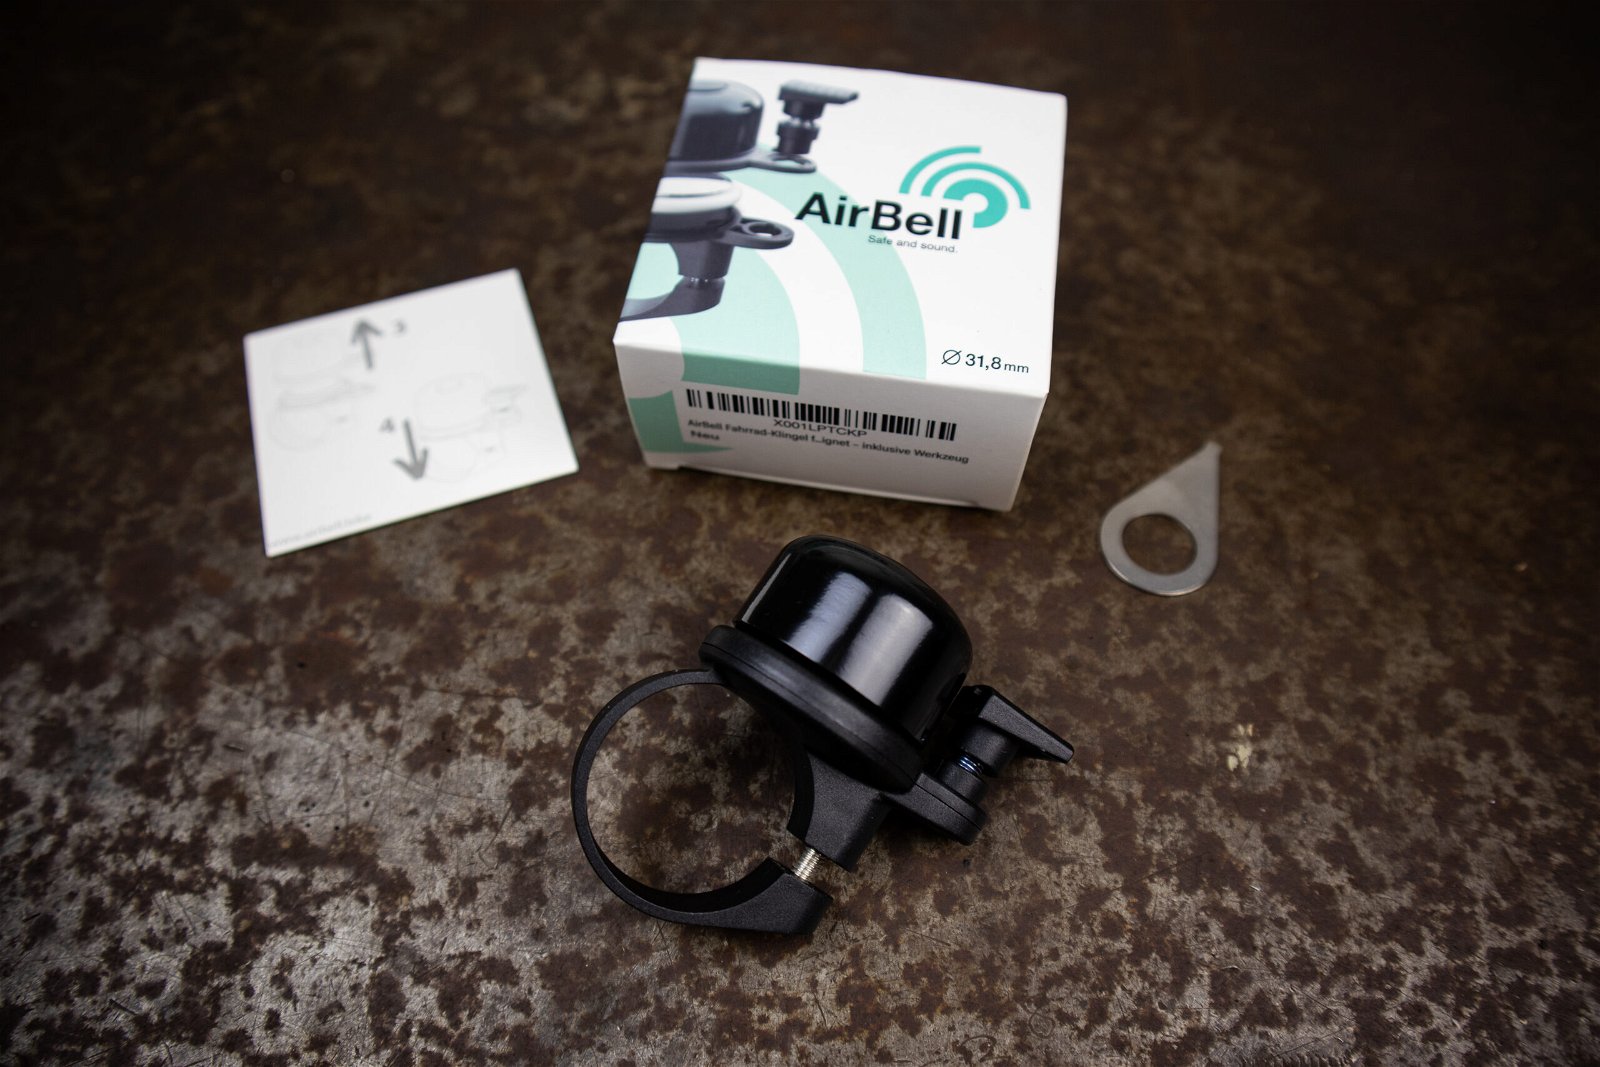
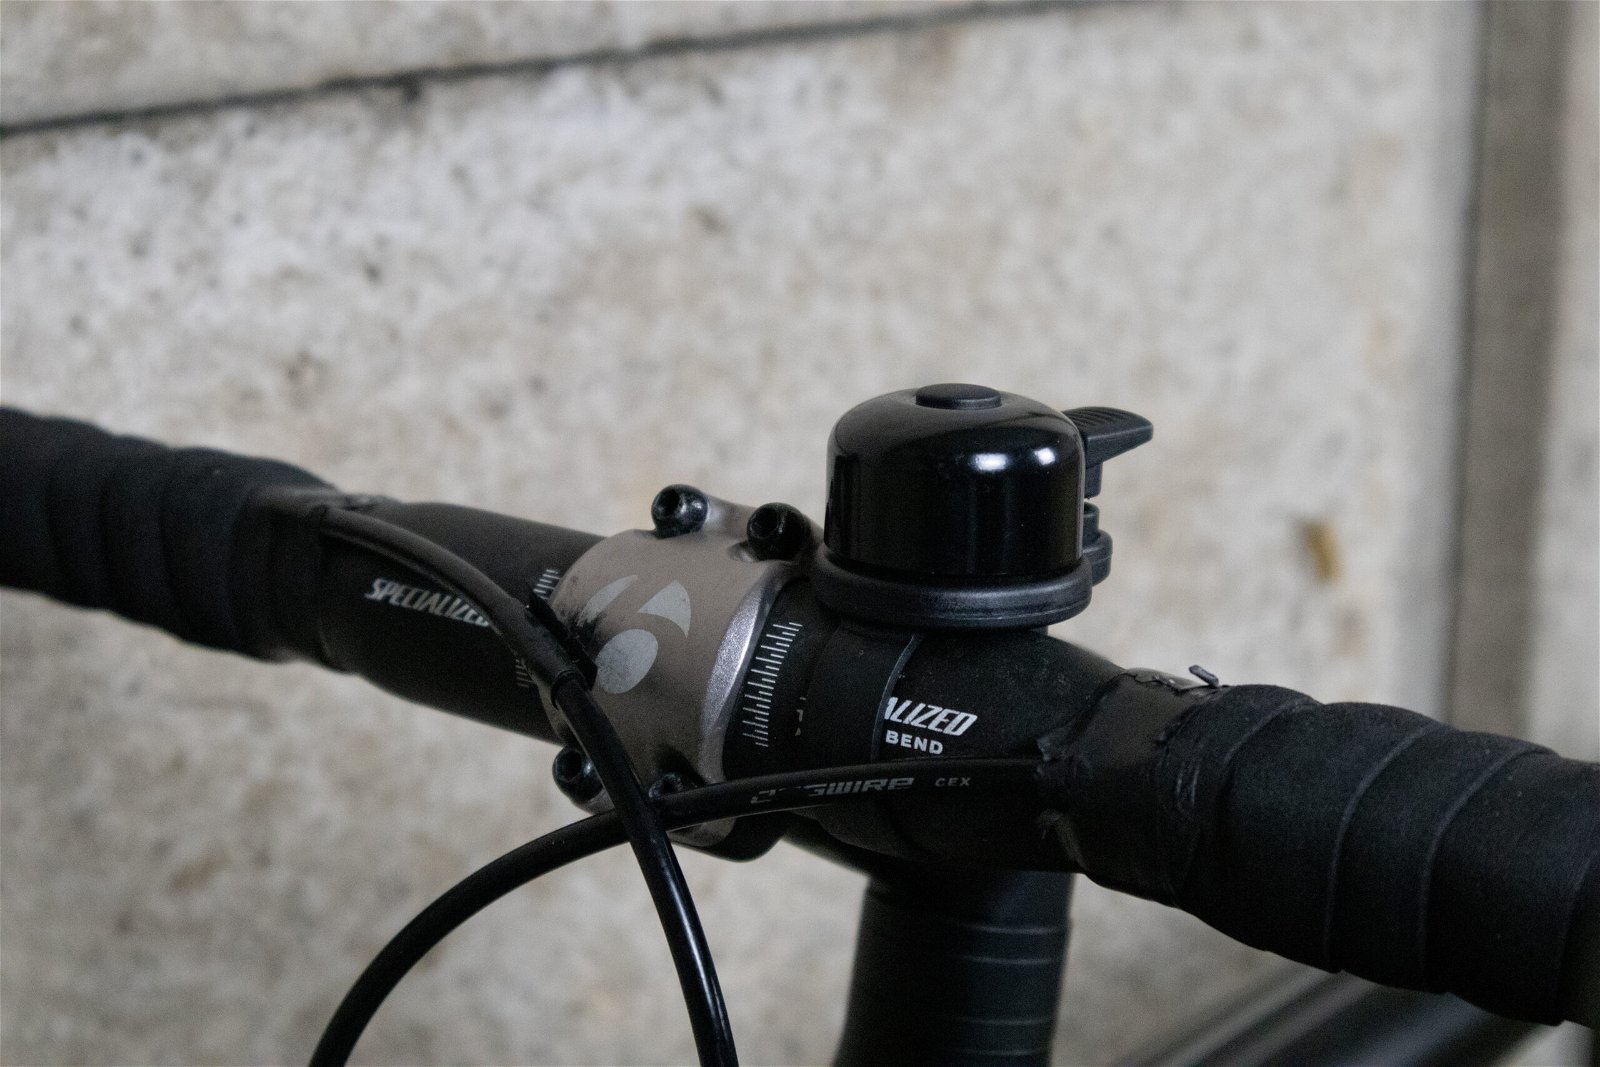
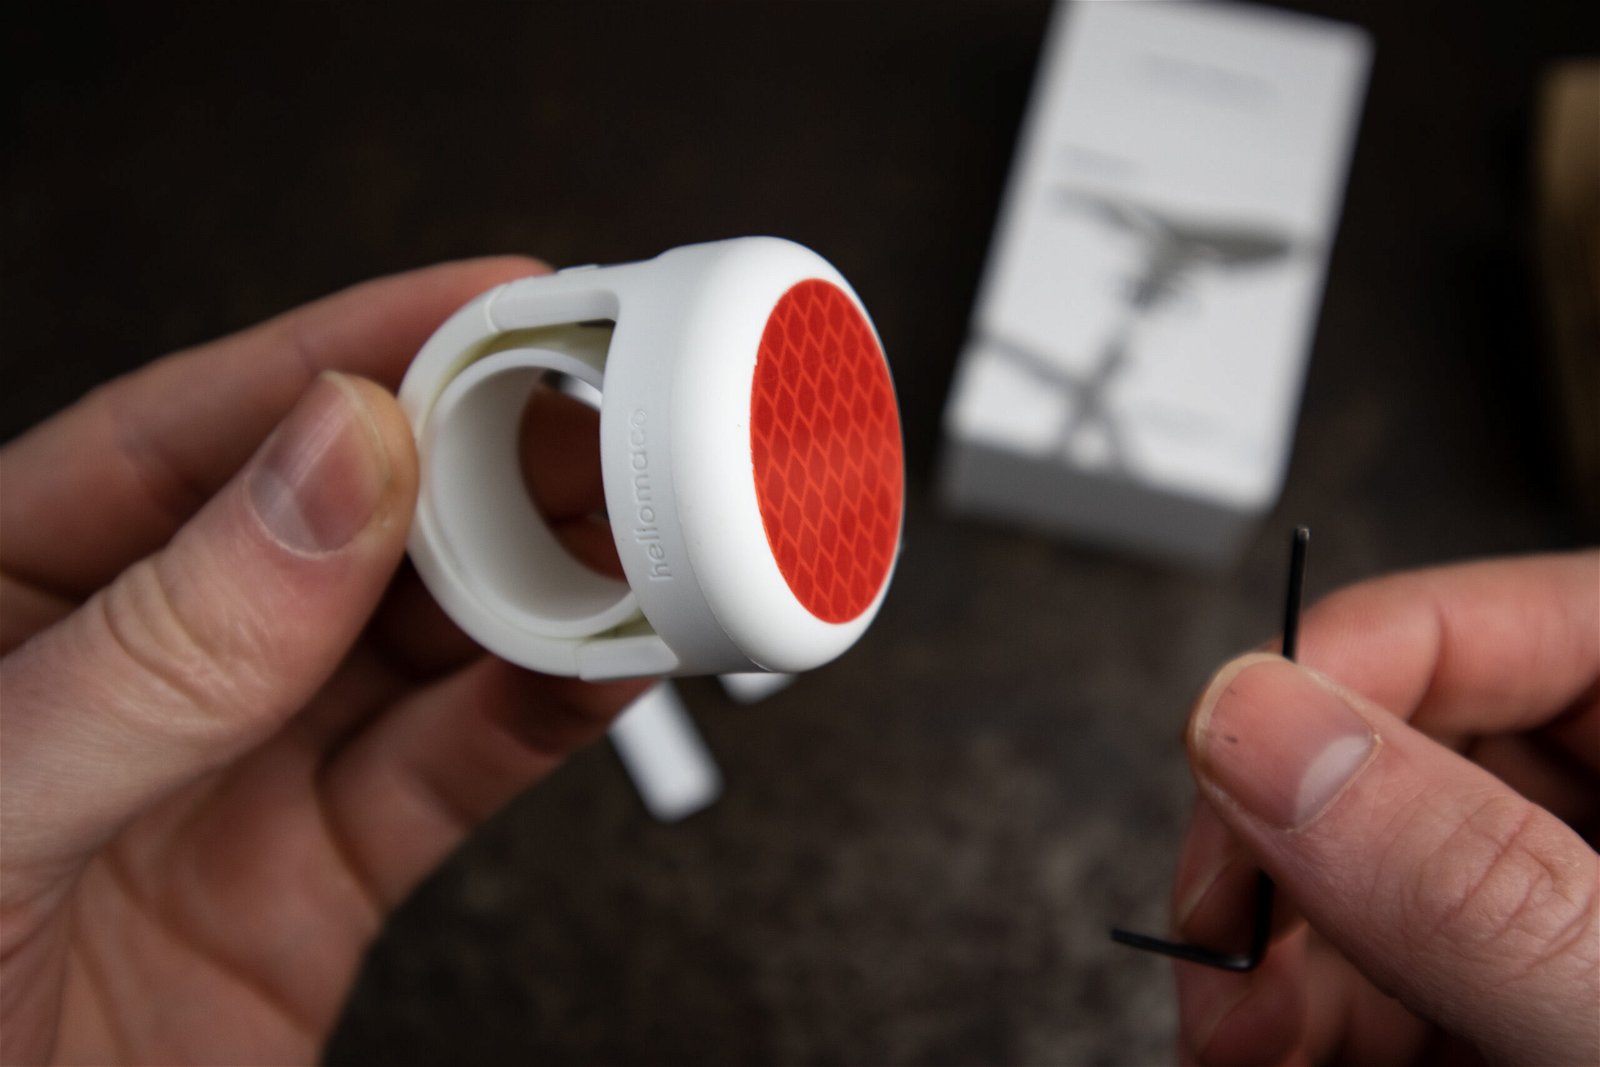
Instead, covert mounts disguise your AirTag as a classic bike accessory, such as a reflector, stem cap, or bike bell.
The mount I use with my bike, the AirBell, encapsulates your AirTag in the bottom of a classic bicycle bell.
If you silence your AirTag, without prior knowledge of the AirBell, there’s very little chance that a thief will realise your bell is housing a tracking device. Bingo!
Issues With Retail AirTag Mounts
The obvious downside of retail AirTag bike mounts is that they’ll cost you a bit of money.
But to be honest, most of the mounts I tested are affordable and will last longer than DIY attempts, thanks to the high-quality materials they’re made from.
It’s also important to remember that some mounts come in different sizes, so measure your bike first to make sure your chosen mount will work.
Finally, metal mounts. As I discovered during testing, metal mounts limit the signal of an AirTag.
With one metal mount I tested, the AirTag could only be tracked at a distance of 4.3ft, making it almost useless.
AirTag Silencing? Is It Worth It?
Cyclists use AirTags to track the location of their bike so that if it were lost or stolen, they’d have a better chance of recovering it.
As previously mentioned, if a thief notices that a bike they’ve stolen is being tracked, they’ll do their best to remove the tag.
So apart from using security measures such as Torx screws to prevent removal, one of your best bets is to ensure the mount isn’t noticed in the first place.

Using a covert mounting system and silencing your AirTag, gives you the best chance of it going unnoticed.
I’ve assembled an 8-step AirTag silencing guide for anyone interested in tracking their bike with a “Stealth Mode AirTag”.
Conclusion - How to Mout an AirTag to Your Bike
If you’re mounting an AirTag to your bike, your two options are to build a DIY mounting system or buy a readymade AirTag mount.
Both of these are good options and provide a different set of benefits.
If you’re unsure whether you want to use an AirTag to track your bike, it’s worth reading my AirTag bike tracking guide.
Finally, it’s essential to understand that AirTags won’t prevent your bike from being knicked. Instead, they can be used as an additional level of security and to increase the chances of recovery if you’re unlucky enough to have your bike stolen.
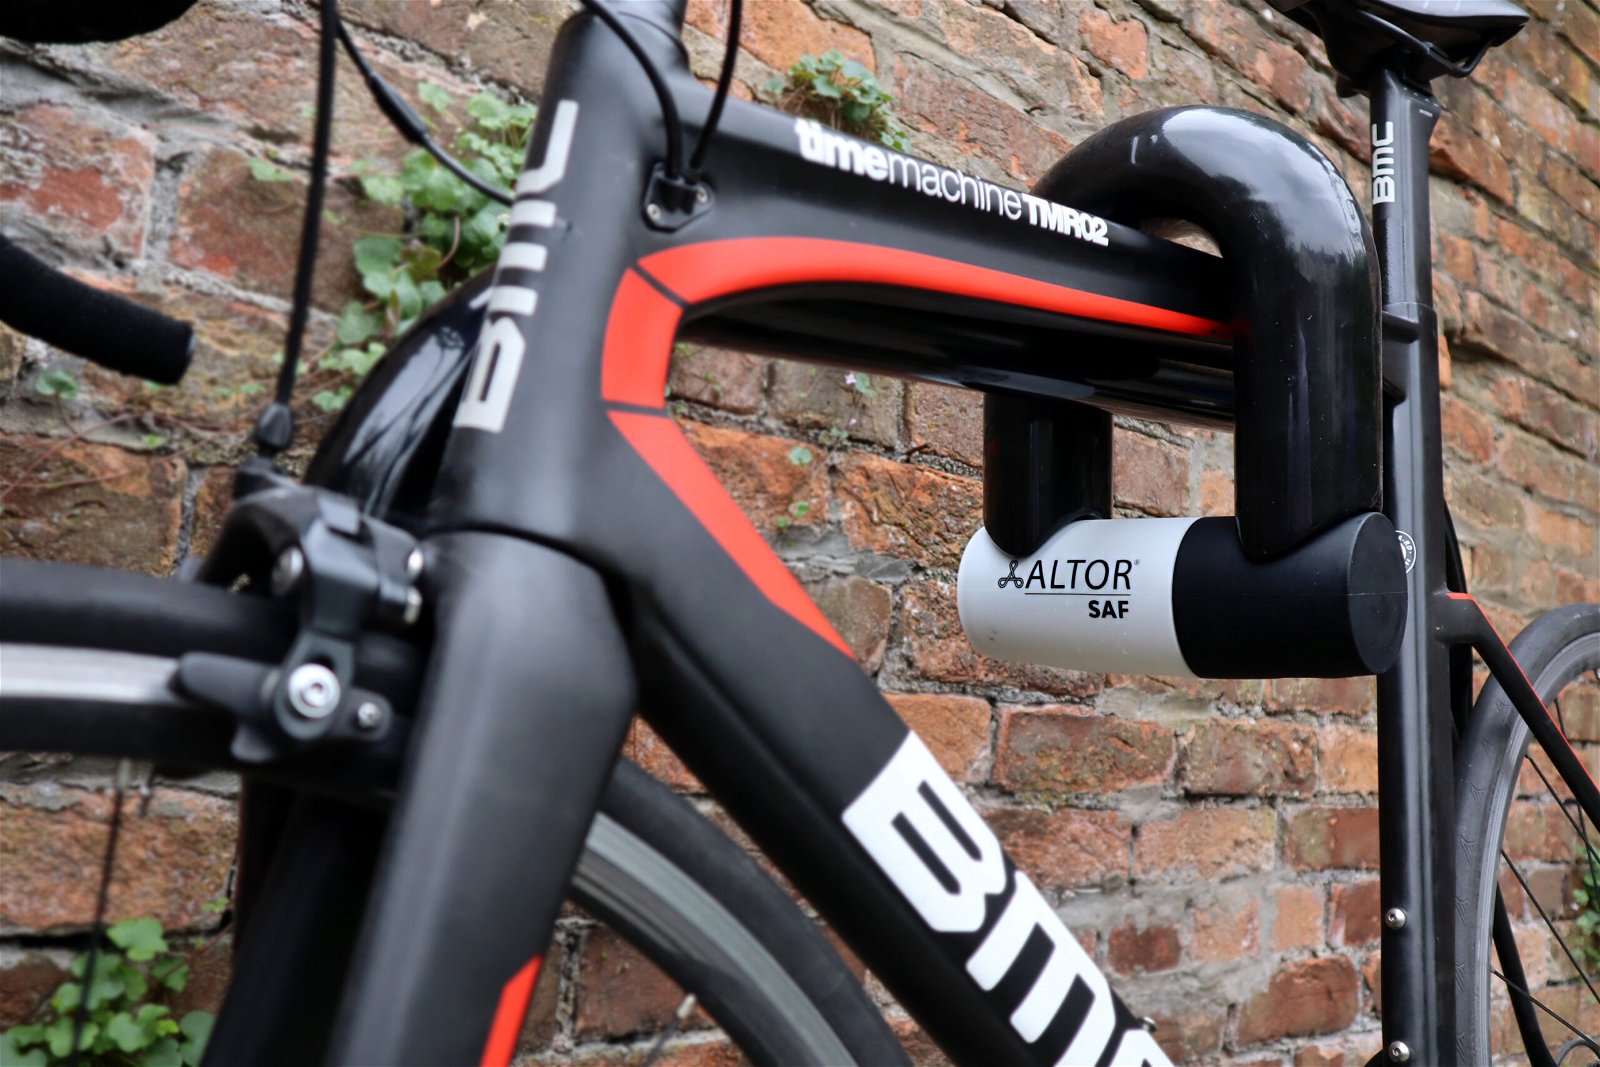
As selfish as it sounds, use a top-quality bike lock, and in most cases, bike thieves will look for an easier target.
Thanks for reading!
Recent Updates:
- 23rd Jan 2024: Revised article layout to improve user experience across all devices.